The first time you switch to a Layout tab, your model displays in a default layout viewport. You can create other layout viewports anywhere inside the drawing area. You can control the number of viewports created and the arrangement of the viewports.
To create layout viewports
1 Do one of the following to choose Layout Viewports ( ):
):
• On the ribbon, choose View > Layout Viewports (in Layouts).
• On the menu, choose View > Viewports > Layout Viewports.
• On the Viewports toolbar, click the Layout Viewports tool.
• Type mview and then press Enter.
2 Specify two opposing corners to create a custom rectangular viewport, or in the prompt box, choose one of the following:
• Fit To View — Creates a layout viewport that fills the screen.
• Entity — Converts a closed entity to a layout viewport. You can convert a circle, ellipse, closed polyline, spline, or region.
• Polygonal — Creates a non-rectangular layout viewport.
• Create 2 Viewports, Create 3 Viewports, Create 4 Viewports — Creates two, three, or four layout viewports using an orientation that you specify. You can select whether to arrange the viewports to fill the current graphic area or a rectangular area that you specify.
The border of a new layout viewport is created on the current layer.
You can make layout viewport borders invisible by creating a new layer before you create layout viewports and then turning off that layer after you create the layout viewports. To select a layout viewport’s borders, you must turn that layer back on before you can rearrange or modify the layout viewport.
|

|
|
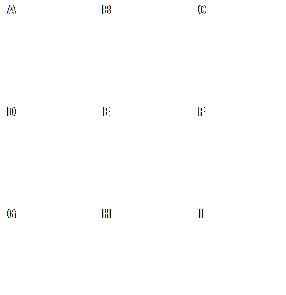
You can create a single layout viewport, or you can divide the graphic area into two viewports arranged vertically (A) or horizontally (B); three viewports arranged left (C), right (D), above (E), below (F), vertically (G), or horizontally (H); or four viewports (I).
|
 ):
):
